Master Homemade Grilled Wings: Smoky Flavor, Easy Prep & Dipping Ideas
There’s an undeniable magic that happens when a plate of perfectly grilled chicken wings arrives at the table. Whether you're hosting a lively backyard barbecue, a casual game-day gathering, or simply enjoying a relaxing afternoon by the pool, these crispy, juicy, and smoky morsels are the ultimate crowd-pleaser. Forget those sad, soggy imitations – we’re talking about wings that boast an irresistible crunch on the outside, succulent tenderness within, and a depth of flavor that only comes from careful preparation. The secret to achieving this culinary nirvana lies in two fundamental techniques: a custom, easy-to-make homemade barbecue rub that far surpasses any store-bought alternative, and a smart two-zone grilling method that guarantees flawless results every time. And while these wings are so packed with flavor they barely need accompaniment, we'll also explore a fantastic array of dipping sauces to elevate the experience, because let's face it, dunking is half the fun!The Anatomy of a Perfect Grilled Chicken Wing: Prep & Crispy Skin Secrets
The journey to epic grilled chicken wings begins with the wings themselves and a crucial step for achieving that coveted crispy skin.Choosing and Preparing Your Wings
You can buy chicken wings pre-cut into "flats" (wingettes) and "drumettes," but if your grocery store offers whole chicken wings, don't shy away. Buying whole wings is often more cost-effective, and cutting them yourself is surprisingly easy. Here’s how:
- Place a whole wing skin-side down on a sturdy cutting board.
- Locate the two joints: one connects the drumette to the flat, and the other connects the flat to the small, bony tip.
- Using a sharp chef’s knife or a pair of robust kitchen shears, cut through each joint. Aim for the soft cartilage between the bones to make a clean break.
- You can discard the wing tips, or for extra flavor in future dishes, save them in a freezer bag to make chicken stock later.
If you're using frozen wings, ensure they are completely defrosted before you proceed with seasoning. Proper defrosting allows for even cooking and better seasoning adherence.
The Secret Weapon for Crispy Skin: Baking Powder
Achieving truly crispy skin on your grilled chicken wings isn't just about high heat; it involves a clever trick: a touch of aluminum-free baking powder. This humble ingredient works wonders in two key ways:
- Moisture Management: Baking powder helps to draw moisture from the chicken skin to the surface, where it can evaporate more readily during grilling. Less moisture equals crispier skin.
- pH Enhancement: It slightly increases the pH levels of the skin. This breakdown of proteins promotes a more even browning and helps the skin crisp up beautifully without becoming tough.
Before seasoning, always remember to pat the chicken wings thoroughly dry with paper towels. This removes surface moisture, allowing the spices to adhere better and contributing significantly to that desirable crispy finish when grilling.
Crafting Your Flavor Foundation: The Homemade Rub
While great grilled chicken wings start with proper prep, their soul is in the seasoning. A homemade barbecue rub is vastly superior to any store-bought blend, offering a fresh, vibrant flavor profile tailored to your taste. This rub creates a beautiful crust and infuses the meat with incredible depth.
Building Your Signature Rub
A classic, well-balanced rub typically includes a mix of savory, sweet, and spicy notes. Here’s a foundational blend to get you started:
- Salt and Black Pepper: The essential base for any seasoning.
- Garlic Powder and Onion Powder: Aromatic staples that provide savory depth.
- Smoked Paprika: Crucial for that smoky, slightly sweet, and vibrant color. (Regular paprika works too, but smoked adds another layer of flavor.)
- Cayenne Pepper: For a gentle or pronounced kick, adjust to your preference.
- Brown Sugar: Helps with caramelization and provides a subtle sweetness that balances the spices.
To make your rub: Simply combine all ingredients in a bowl. For roughly 2-3 pounds of wings, start with 1 tablespoon salt, 1 teaspoon black pepper, 1 tablespoon garlic powder, 1 tablespoon onion powder, 2 tablespoons smoked paprika, 1 teaspoon cayenne, and 2 tablespoons brown sugar. Adjust proportions to your liking. Mix well until everything is evenly distributed.
Seasoning Technique & Dry Brining
Once your wings are patted dry, sprinkle the rub generously over them, ensuring every nook and cranny is coated. Use your hands to massage the rub into the skin. For an even deeper flavor penetration and an extra boost to crispy skin, consider dry brining. After seasoning, arrange the wings on a wire rack set over a baking sheet and refrigerate them uncovered for at least 4 hours, or ideally, up to 24 hours. This allows the salt to draw out moisture, dissolve, and then reabsorb, seasoning the meat from within while further drying out the skin for maximum crispiness.
The Two-Zone Grilling Method: Master the Heat for Perfect Results
The single most important technique for foolproof grilled chicken wings is the two-zone grilling method. This approach allows you to cook the wings through gently and evenly, then finish them with a high-heat crisp, preventing burning and ensuring juicy perfection. For a detailed guide on this crucial technique, check out our article: Grilled Chicken Wings: Achieve Crispy Skin & Juicy Meat with Two-Zone Grilling.
Setting Up Your Grill
- Charcoal Grill: Pile hot charcoal on one side of the grill grate, leaving the other side empty. This creates a "direct heat" zone over the coals and an "indirect heat" zone over the empty side. If you want extra smoky flavor, add a few chunks of smoking wood (like hickory or applewood) to the hot coals.
- Gas Grill: Turn on burners on one side to high heat and leave the other burners off. Preheat the grill to an internal temperature of around 400°F (200°C).
The Two-Stage Cooking Process
- Low and Slow (Indirect Heat):
- Once your grill is at 400°F, place the seasoned wings on the indirect heat side of the grill.
- Close the lid and cook for approximately 45 minutes to 1 hour, or until the internal temperature of the thickest part of the wing reaches 165°F (74°C).
- This initial phase is crucial. Cooking over indirect heat ensures the wings cook through evenly, staying tender and juicy without fear of flare-ups or charring the exterior before the inside is done.
- High Heat Crisp (Direct Heat):
- Once the wings are cooked through, uncover the grill and, if using charcoal, open all vents to maximize airflow and heat.
- Move the wings directly over the hot coals (or the lit burners on a gas grill).
- Sear for 2-3 minutes per side, rotating frequently, until the skin is beautifully golden brown, crispy, and slightly blistered. Watch them closely during this stage to prevent burning.
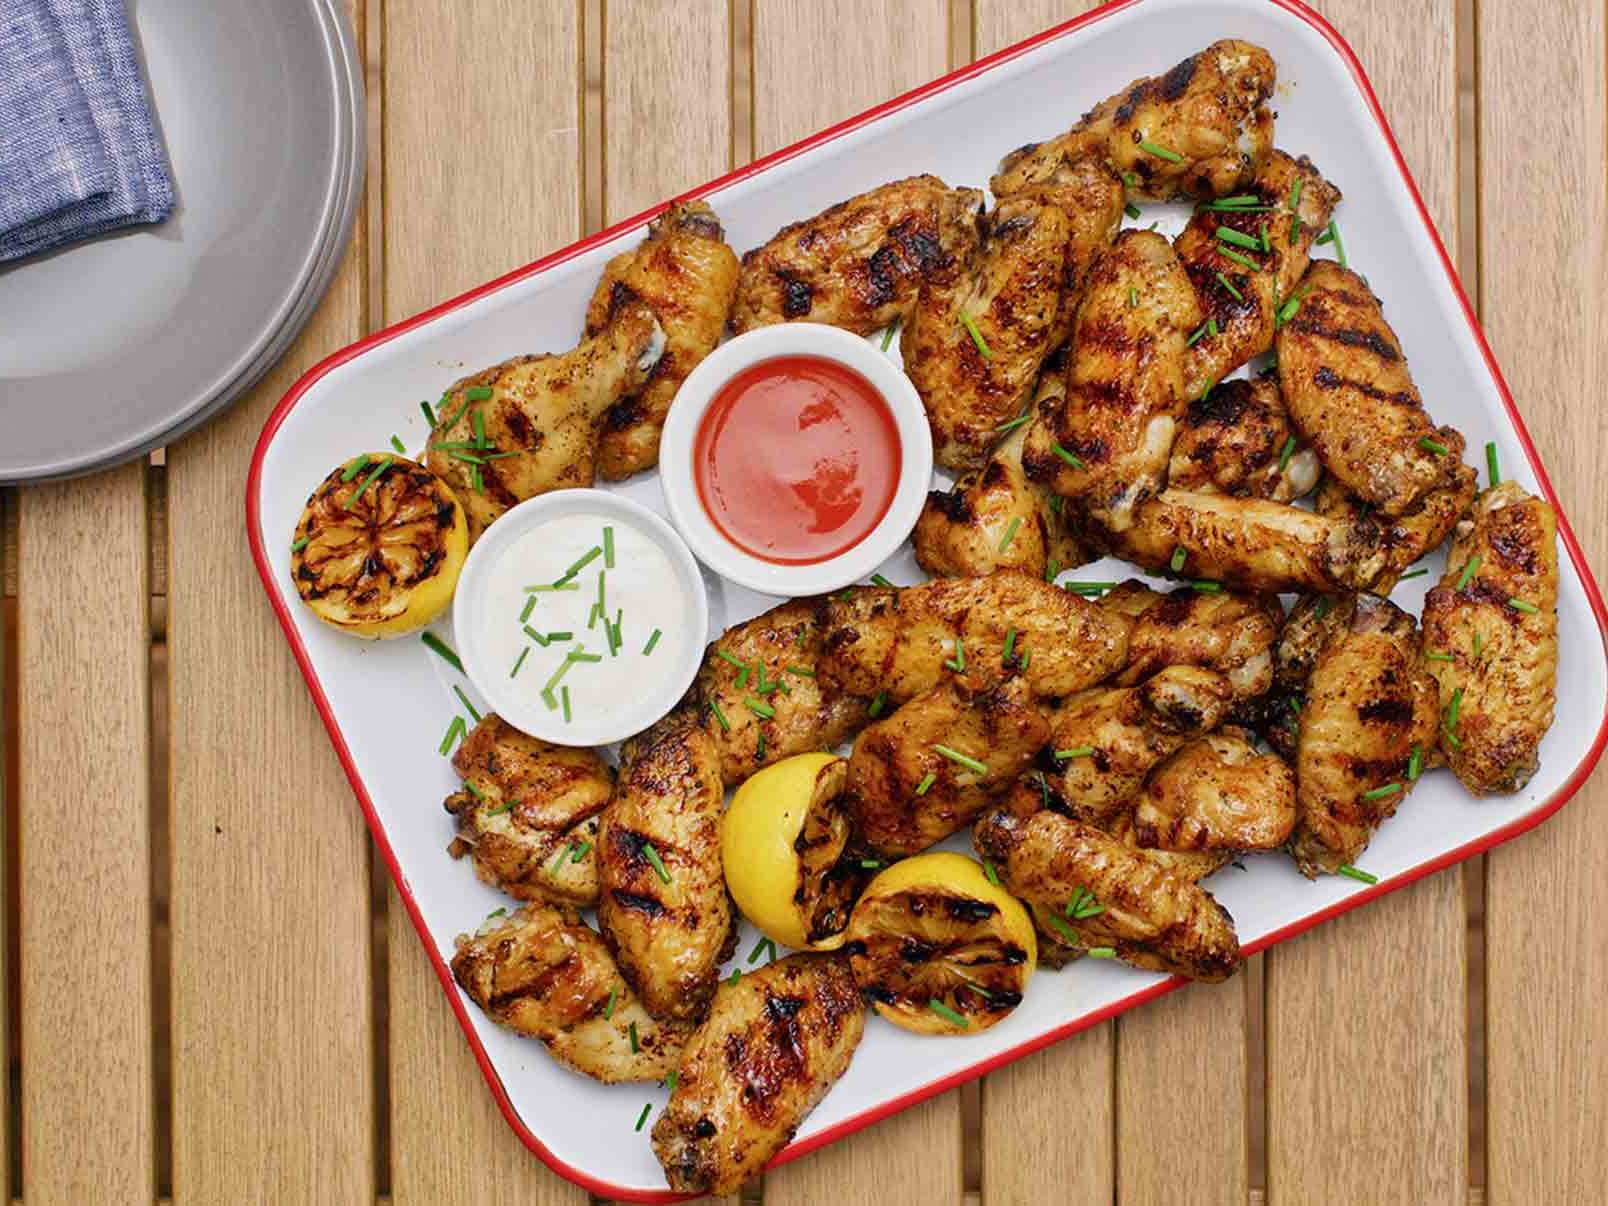
Dipping Delights: Elevating Your Wing Experience
While your perfectly grilled chicken wings are bursting with flavor on their own, part of the joy is the dipping experience! A trio of sauces always makes for an impressive spread and allows everyone to customize their bite.
Classic & Creative Dipping Ideas
- Smoky Barbecue Sauce: A natural pairing that complements the grilled flavor perfectly.
- Buffalo Sauce: For those who love a spicy kick, a classic hot sauce is a must.
- Creamy Ranch or Blue Cheese: Offers a cool, tangy contrast to the rich, smoky wings.
- Honey Mustard: A sweet and savory favorite that appeals to all ages.
- Sriracha Mayo: For a spicy, creamy twist with a hint of garlic.
- Gochujang Glaze: A sweet and spicy Korean-inspired option, excellent brushed on during the final grill stage.
Saucing on the Grill for an Extra Glaze
If you prefer sauced wings, brush your favorite barbecue or hot sauce onto the crispy wings during the last 5 minutes of indirect cooking. Return them to the indirect side of the grill for about 5 minutes, allowing the glaze to thicken and set without burning the sugars in the sauce. This ensures a sticky, flavorful coating that adheres beautifully to the crispy skin.
Additional Tips for Grilled Chicken Wing Success
- Don't Overcrowd: Give your wings space on the grill for even cooking and crisping. Cook in batches if necessary.
- Meat Thermometer is Key: Always use a reliable instant-read meat thermometer to ensure the wings reach 165°F (74°C) internal temperature for food safety.
- Rest Before Serving: Let the wings rest for 5 minutes after removing them from the grill. This allows the juices to redistribute, ensuring maximum succulence.
- Storage & Reheating: Leftover grilled chicken wings can be stored in an airtight container in the refrigerator for up to 3-4 days. While best fresh, they can be reheated in an oven or air fryer for renewed crispiness.
